Making a Free, Customizable 2026 Calendar in Excel: A Step-by-Step Information
 Excel is a strong instrument for knowledge administration and group, and it can be used to create a useful and customizable calendar. Neglect costly software program or pre-printed calendars; with a little bit know-how, you may construct your individual 2026 calendar instantly in Excel, tailor-made to your particular wants and preferences. This complete information will stroll you thru the method, from the essential structure to superior options like including holidays, conditional formatting, and even linking to a to-do listing.
Why Create a Calendar in Excel?
Earlier than diving into the how-to, let’s discover the benefits of constructing your individual Excel calendar:
- Customization: You will have full management over the design, structure, and content material. Change colours, fonts, add notes, spotlight vital dates, and extra.
- Flexibility: Simply adapt the calendar to fit your workflow. Add columns for particular duties, observe appointments, or combine it with different spreadsheets.
- Price-Efficient: Excel is commonly already put in in your pc, making this a free answer in comparison with buying devoted calendar software program.
- Shareability: Simply share the calendar with colleagues, household, or mates by way of e-mail or cloud storage.
- Printability: Excel calendars are readily printable, permitting you to have a bodily copy to your desk or wall.
- Study Excel Expertise: Making a calendar is an effective way to enhance your Excel abilities and discover its numerous functionalities.
Getting Began: Setting Up the Primary Format
- Open Excel: Launch Microsoft Excel in your pc.
- Create a New Worksheet: Open a brand new, clean workbook. Rename the primary sheet to “2026 Calendar” (or any identify you like).
- Set Up the Month Headings:
- In cell B1, sort “January”.
- In cell I1, sort “February”.
- Proceed this sample throughout the primary row, creating headings for all 12 months: March (P1), April (W1), Could (DD1), June (KK1), July (RR1), August (YY1), September (FF1), October (MM1), November (TT1), December (AAA1).
- Regulate Column Widths: Choose all of the columns (click on the triangle within the higher left nook of the sheet). Proper-click on any column heading (A, B, C, and so on.) and select “Column Width…”. Enter a price that gives enough area for the dates, corresponding to 10. Regulate additional as wanted to realize a visually interesting structure.
- Set Up the Day Headings:
- In cell B2, sort “Solar”.
- In cell C2, sort “Mon”.
- Proceed throughout to cell H2, typing “Tue”, “Wed”, “Thu”, “Fri”, and “Sat”.
- Copy this sample to all the opposite months’ sections (I2:O2, P2:V2, and so on.). You possibly can shortly copy and paste this row to every month’s part.
- Regulate Row Heights: Choose rows 1 and a couple of. Proper-click on the row numbers and select “Row Peak…”. Enter a price like 25-30 to create more room for the calendar entries. Regulate to your desire.
Populating the Calendar with Dates: Utilizing Formulation
That is the place the magic of Excel is available in. We’ll use formulation to robotically populate the dates for every month.
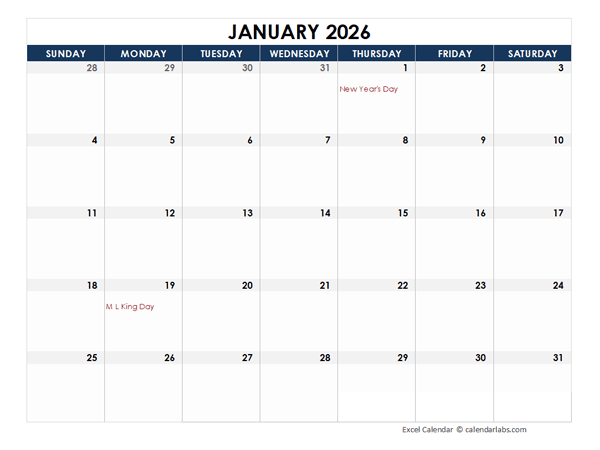
- Decide the First Day of January 2026: January 1, 2026, is a Thursday. Due to this fact, the date ‘1’ ought to seem in cell E3.
- Enter the First Date: In cell E3, sort “1”.
- System for Subsequent Dates: In cell F3, enter the next method:
=IF(E3<>"",E3+1,""). This method checks if the earlier cell (E3) isn’t empty. If it is not empty (that means there is a date there), it provides 1 to the earlier date. If it is empty, it leaves the cell clean. - Copy the System: Copy the method from cell F3 and paste it throughout the row to cell H3.
- System for the Subsequent Row: In cell B4, enter the next method:
=IF(H3<>"",H3+1,""). This method checks if the final day of the week (H3) has a price. If it does, it provides 1 to it, beginning the following week. If not, it stays clean. - Copy and Paste: Copy the method from cell B4 and paste it throughout the row to cell H4. Then, copy your entire row (B4:H4) and paste it down for a number of rows (B5:H8) to cowl all doable days in a month.
- Repeat for Every Month: Repeat steps 1-6 for every month, adjusting the preliminary beginning day primarily based on the day of the week that month begins. Here is a fast reference for the primary day of every month in 2026:
- February 2026: Sunday (I3)
- March 2026: Sunday (P3)
- April 2026: Wednesday (W3)
- Could 2026: Friday (DD3)
- June 2026: Monday (KK3)
- July 2026: Wednesday (RR3)
- August 2026: Saturday (YY3)
- September 2026: Tuesday (FF3)
- October 2026: Thursday (MM3)
- November 2026: Sunday (TT3)
- December 2026: Tuesday (AAA3)
- Format Dates: Choose all of the cells containing dates (B3:H8 for January, I3:O8 for February, and so forth). Proper-click and select “Format Cells…”. Go to the “Quantity” tab and choose “Date”. Select a date format that shows solely the day quantity (e.g., “1”, “01”). This may take away the 12 months and month from the show, making the calendar cleaner.
Including Holidays and Occasions: Customizing Your Calendar
Now that you’ve got the essential calendar construction, you may personalize it by including holidays and occasions.
- Manually Enter Holidays: Choose the cell akin to the vacation date and kind the vacation identify instantly into the cell. For instance, for New 12 months’s Day (January 1st), choose cell E3 and kind “New 12 months’s Day”. Repeat for different holidays like Martin Luther King Jr. Day, President’s Day, Memorial Day, Independence Day, Labor Day, Thanksgiving, Christmas, and so on.
- Utilizing Conditional Formatting for Holidays: To visually spotlight holidays, use conditional formatting.
- Choose all of the cells containing dates (B3:H8 for January, I3:O8 for February, and so forth).
- Go to the “House” tab and click on on “Conditional Formatting” within the “Types” group.
- Select “New Rule…”.
- Choose “Use a method to find out which cells to format”.
- Within the method field, enter a method that checks if the cell incorporates a particular vacation identify. For instance, to spotlight New 12 months’s Day, you might use the method:
=E3="New 12 months's Day". Regulate the cell reference (E3) to match the cell containing the vacation identify. - Click on “Format…” and select the formatting you wish to apply (e.g., a distinct background colour or font model).
- Click on “OK” twice to use the rule.
- Repeat this course of for every vacation you wish to spotlight.
- Including Occasions and Appointments: You possibly can add occasions and appointments instantly into the calendar cells. Merely sort the occasion description beneath the date. To make the calendar extra readable, think about using a smaller font dimension for the occasion descriptions.
Enhancing Your Calendar: Superior Options
Listed here are some superior options to make your Excel calendar much more helpful:
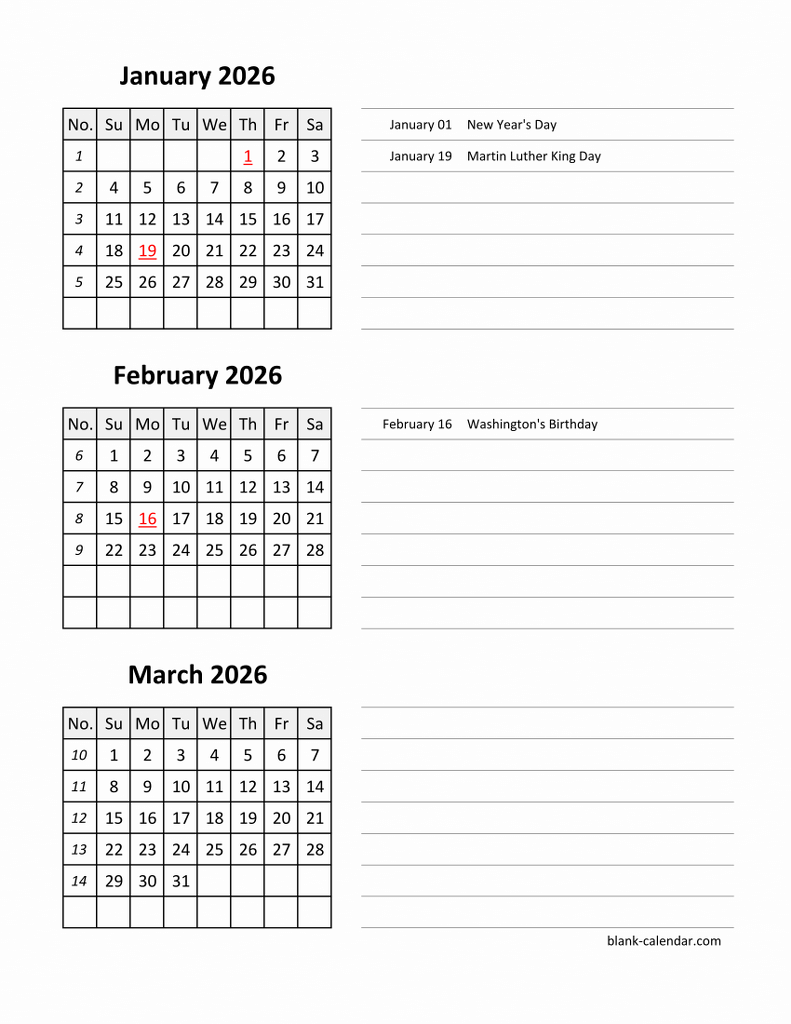
- Making a 12 months Overview: Create a separate sheet to show a miniature overview of your entire 12 months. You need to use smaller fonts and fewer element to suit all 12 months on a single web page. This supplies a fast reference for the entire 12 months.
- Linking to a To-Do Checklist: Create a separate sheet to your to-do listing. You possibly can then use hyperlinks to hyperlink particular dates on the calendar to corresponding duties on the to-do listing. For instance, when you’ve got a gathering scheduled for January fifteenth, you may create a hyperlink in cell E5 (the cell containing the date ‘15’) that hyperlinks to the duty description in your to-do listing.
- Utilizing Information Validation for Recurring Occasions: When you’ve got recurring occasions (e.g., weekly conferences), use knowledge validation to create a dropdown listing of occasion choices. This makes it simpler so as to add the identical occasion to a number of dates.
- Choose the cells the place you wish to add the recurring occasions.
- Go to the “Information” tab and click on on “Information Validation”.
- Within the “Permit” dropdown, choose “Checklist”.
- Within the “Supply” field, enter a comma-separated listing of your recurring occasions (e.g., “Weekly Assembly, Challenge Replace, Crew Lunch”).
- Click on “OK”. Now, while you click on on the chosen cells, you may see a dropdown listing of occasion choices.
- Conditional Formatting Primarily based on Weekday: You need to use conditional formatting to spotlight weekends (Saturdays and Sundays). This will enhance readability and aid you shortly determine free days.
- Choose all of the cells containing dates.
- Go to “Conditional Formatting” -> “New Rule…”.
- Choose “Use a method to find out which cells to format”.
- Use the
WEEKDAY()perform to find out the day of the week. The method=WEEKDAY(B3,2)>5will spotlight Saturdays and Sundays (assuming B3 is the primary date cell in your choice). The2within theWEEKDAY()perform specifies that Monday is taken into account day 1 and Sunday is day 7. - Click on “Format…” and select the formatting you wish to apply (e.g., a distinct background colour).
- Click on “OK” twice to use the rule.
- Printing Your Calendar: To print your calendar, go to “File” -> “Print”. Regulate the print settings as wanted to make sure the calendar matches on the web page. You need to use the “Web page Setup” choices to regulate margins, orientation, and scaling. Contemplate printing in panorama orientation for higher readability.
Suggestions and Tips for a Higher Excel Calendar:
- Use Colour Successfully: Use completely different colours to distinguish between holidays, occasions, and private appointments. Nonetheless, keep away from utilizing too many colours, as this could make the calendar look cluttered.
- Select Readable Fonts: Choose fonts which can be simple to learn, even in smaller sizes.
- Hold it Easy: Do not attempt to cram an excessive amount of info into every cell. When you’ve got a number of particulars so as to add, take into account linking to a separate doc or utilizing a remark.
- Frequently Again Up Your Calendar: Save your Excel file commonly to keep away from dropping your knowledge. Think about using cloud storage to robotically again up your file.
- Experiment and Customise: Do not be afraid to experiment with completely different layouts, formulation, and formatting choices to create a calendar that completely fits your wants.
Conclusion
Making a 2026 calendar in Excel is a rewarding mission that permits you to construct a personalised and useful instrument for managing your time. By following the steps outlined on this information, you may create a calendar that’s tailor-made to your particular wants and preferences. From primary date inhabitants to superior options like conditional formatting and to-do listing integration, Excel presents a wealth of potentialities for creating a very personalized calendar expertise. So, ditch the generic calendars and unleash the ability of Excel to create a 2026 calendar that helps you keep organized and on high of your schedule. Bear in mind to save lots of your work continuously! Good luck!